Creating Your App
Welcome to the Ember Tutorial! This tutorial is meant to introduce basic Ember concepts while creating a professional looking application. If you get stuck at any point during the tutorial, feel free to download https://github.com/ember-learn/super-rentals for a working example of the completed app.
You can install the latest version of Ember CLI by following the
Quick Start guide
"Installing Ember" section.
Ember CLI, Ember's command line interface, provides a standard project
structure, a set of development tools, and an addon system.
This allows Ember developers to focus on building apps rather
than building the support structures that make them run.
From your command line, a quick ember --help shows
the commands Ember CLI provides. For more information on a specific command,
type ember help <command-name>.
Creating a New App
To create a new project using Ember CLI, use the new command. In preparation
for the tutorial in the next section, you can make an app called
super-rentals.
ember new super-rentals
A new project will be created inside your current directory. You can now go to
your super-rentals project directory and start working on it.
cd super-rentals
Directory Structure
The new command generates a project structure with the following files and
directories:
|--app
|--config
|--node_modules
|--public
|--tests
|--vendor

<other files>

ember-cli-build.js
package.json
README.md
testem.js
Let's take a look at the folders and files Ember CLI generates.
app: This is where folders and files for models, components, routes, templates and styles are stored. The majority of your coding on an Ember project happens in this folder.
config: The config directory contains the environment.js where you can
configure settings for your app.
node_modules / package.json: This directory and file are from npm.
npm is the package manager for Node.js. Ember is built with Node and uses a
variety of Node.js modules for operation. The package.json file maintains the
list of current npm dependencies for the app. Any Ember CLI
addons you install will also show up here. Packages listed in package.json
are installed in the node_modules directory.
public: This directory contains assets such as images and fonts.
vendor: This directory is where front-end dependencies (such as JavaScript or CSS) that are not managed by npm go.
tests / testem.js: Automated tests for our app go in the tests folder,
and Ember CLI's test runner Testem is configured in testem.js.
ember-cli-build.js: This file describes how Ember CLI should build our app.
Modules
If you take a look at app/router.js, you'll notice some syntax that may be
unfamiliar to you.
import EmberRouter from '@ember/routing/router';
import config from './config/environment';

const Router = EmberRouter.extend({
  location: config.locationType,
  rootURL: config.rootURL
});

Router.map(function() {
});

export default Router;
Ember CLI uses JavaScript modules to organize application code.
For example, the line import EmberRouter from '@ember/routing/router'; gives us access to Ember's Router class as the variable EmberRouter.
And the import config from './config/environment'; line gives us access to our app's configuration data as the variable config.
const is a way to declare a read-only variable to make sure it is not accidentally reassigned elsewhere.
At the end of the file, export default Router; makes the Router variable defined in this file available to other parts of the app.
The Development Server
Once we have a new project in place, we can confirm everything is working by starting the Ember development server:
ember serve
or, for short:
ember s
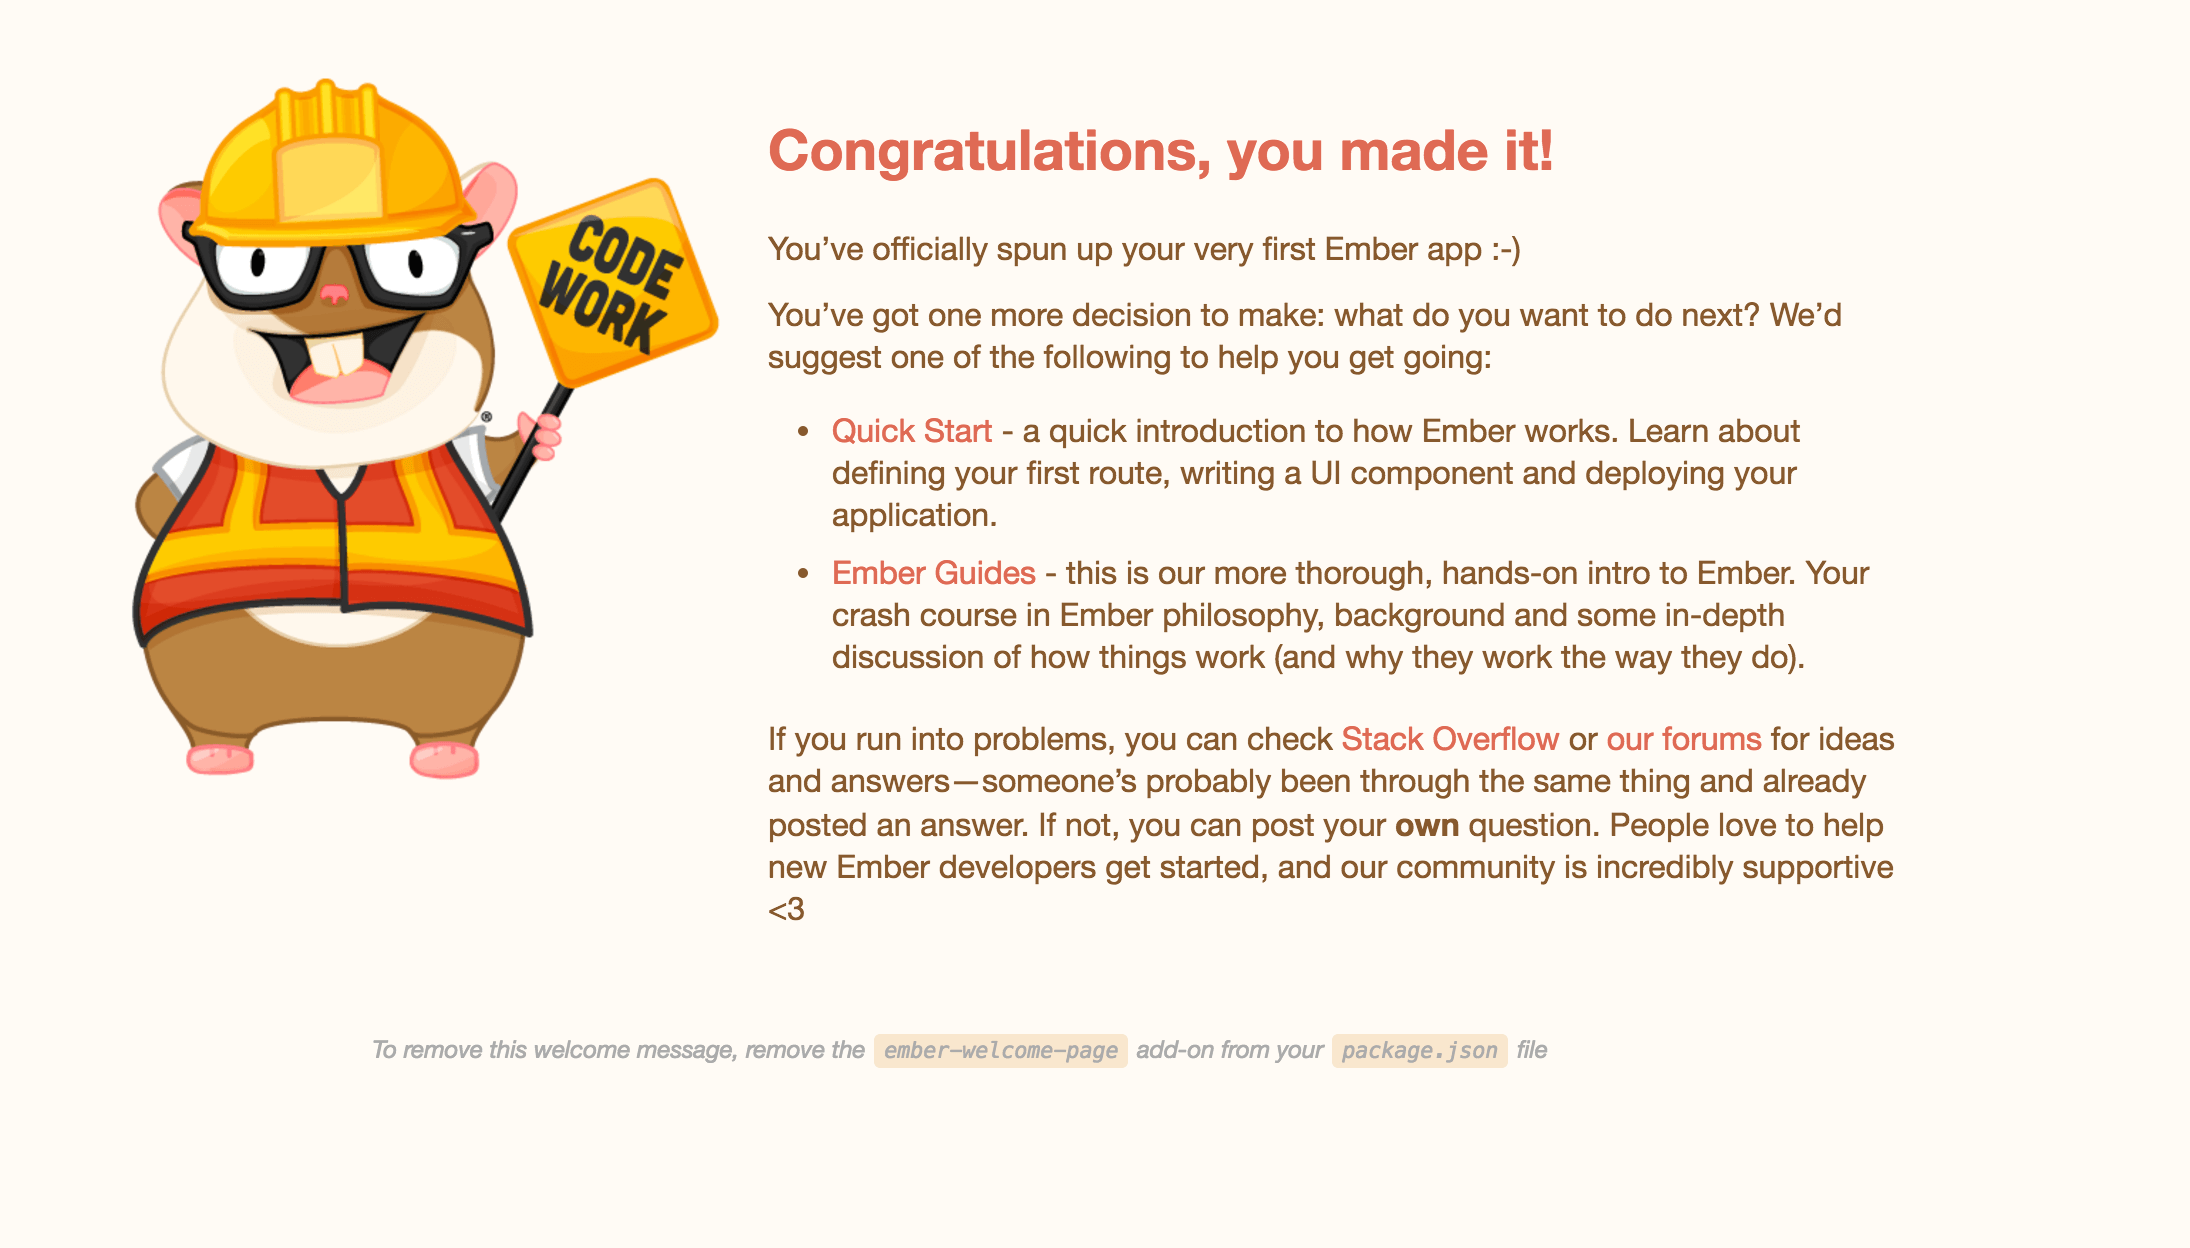
If we navigate to http://localhost:4200, we'll see
the default welcome screen.

The first thing we want to do in our new project is to remove the welcome
screen. We do this by editing the application template file located at
app/templates/application.hbs. As the name implies, this template is for the
application itself, and changes to it will be reflected throughout the entire
application. This template is most often used to house the application's layout,
usually containing the header, footer, navigation bar, and so on.
When we edit the app/templates/application.hbs file, we'll remove the
component labeled <WelcomePage />:
{{!-- The following component displays Ember's default welcome message. --}}
<WelcomePage />
{{!-- Feel free to remove this! --}}

{{outlet}}
The application should now be a completely blank canvas to build our application on.